 by Lea Nogueira
Lost-wax casting: how a jewel goes from wax to metal
One of humanity's oldest techniques, still at the heart of jewellery: the full process and how to prepare a good model.
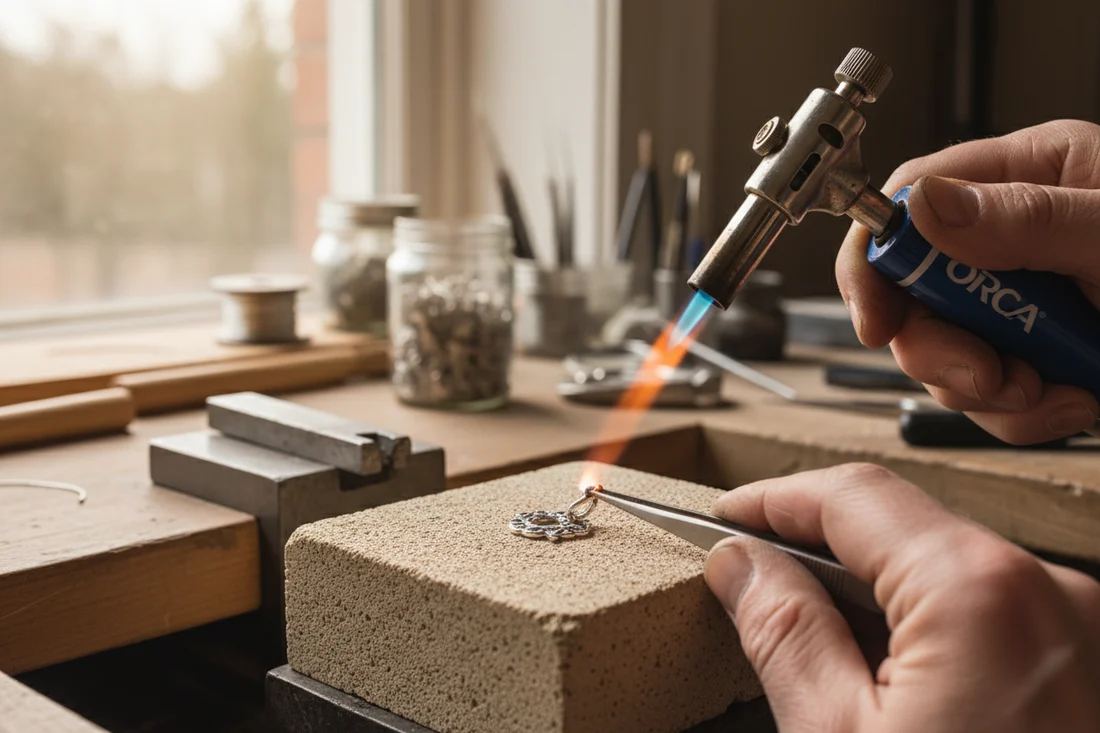
Lost-wax casting is one of the oldest techniques humans use to work metal — there are pieces cast this way that are thousands of years old. It remains at the heart of jewellery today: it's how a sculpted form is turned into metal with all its detail, whether hand-carved in wax or designed on a computer and printed in resin.
The idea in a nutshell
You make a model of the piece in a material that burns or melts without residue. The model is encased in a refractory material that hardens. Then everything goes into a kiln: the model disappears — it's "lost" — leaving a cavity in the exact shape of the piece. Molten metal is poured into that cavity.
The process, step by step
1. The model
It can be hand-carved in jewellery wax — there are hard waxes for filing and sawing and soft waxes for modelling — or printed in castable resin from a 3D file. The model must be exactly as you want the piece, because every scratch, texture and flaw will transfer to the metal.
2. Sprues
One or more wax channels — sprues — are attached to the model, through which metal will flow in and air flow out. Several models can be arranged around a central trunk, forming a "tree". Sprue placement is decisive: metal must reach every part before it solidifies.
3. Investment
The tree is placed in a steel flask and covered with investment, a refractory plaster mixed with water. The mixture is vacuumed to remove air bubbles that could cling to the model, then left to set.
4. Burnout
The flask goes into a kiln on a controlled temperature cycle lasting several hours. The wax melts out, residues burn away, and the investment gains strength. What remains is a hollow mould in the exact shape of the piece.
5. Pouring
Metal is melted in a crucible and poured into the still-hot mould. To reach every detail, vacuum, pressure or centrifugal force is used. In seconds, metal fills the space where the wax used to be.
6. Divesting and finishing
Once cooled, the flask is plunged into water: the investment breaks away, revealing the metal tree. Sprues are cut, marks filed and the piece moves on to finishing — sanding, texturing, polishing, stone setting, plating.
How to prepare a good model
- Minimum thickness. Areas that are too thin may not fill or may break. As a general rule, avoid very thin walls on pieces meant to be worn.
- Smooth transitions. Abrupt changes in thickness hinder metal flow and can cause porosity.
- Weight. Solid, thick pieces are heavy and costly in metal. Hollowing the inside of wide rings, for instance, cuts weight and price.
- Model finish. The cleaner the model, the less work afterwards. Scratches in wax show in metal.
- Resins. Use castable resin. Standard 3D printing resins don't burn out cleanly and ruin the mould.
Strengths and limits
Casting allows forms that would be very hard to build by hand: organic volumes, complex textures, small identical runs. But it doesn't replace other techniques. Filigree, for example, loses its essence when cast: the twisted wire no longer exists and the result is an imitation. Many author pieces combine cast parts with hand-built ones.
Cast your models
If you're a designer, goldsmith, student or have a project of your own, our lost-wax casting service casts your models in 925 silver, with a model check beforehand. No model yet? We develop the piece with you through bespoke jewellery.
Lost-wax casting
Your wax or resin models, cast in metal. Free quote, a photo is enough.
Request a quote