 by Lea Nogueira
How to start making jewellery: a beginner's guide
Where to start, which technique to learn first, how much to invest and the mistakes every beginner makes. A realistic path into jewellery making.
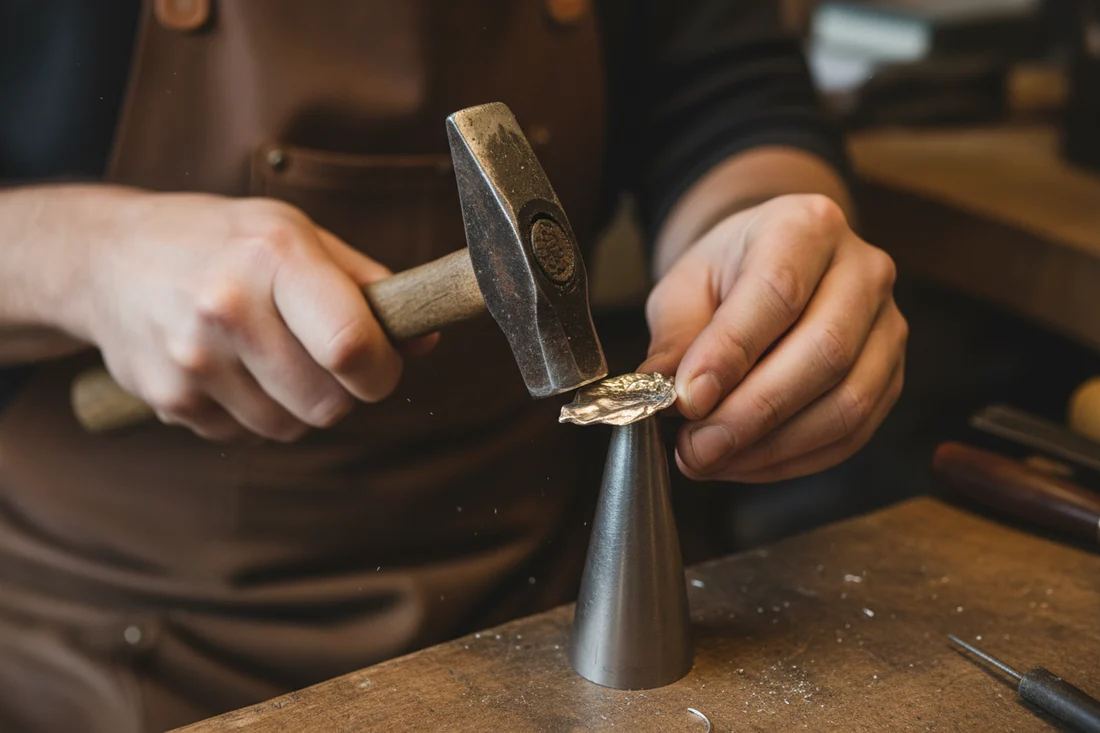
Making jewellery by hand is a common wish — and often postponed, because it seems to require a studio, expensive tools and years of training. The truth is simpler: you start with a few things and the right techniques, and progress piece by piece. This guide proposes a realistic path.
First: what kind of jewellery do you want to make?
"Making jewellery" can mean very different things: stringing beads, modelling silver clay, working metal at a bench. This guide is about the last: metal jewellery with saw, hammer and torch — the basis of traditional goldsmithing.
Try before you invest
Before buying tools, take a workshop. In a few hours you'll find out whether you enjoy the work, which technique draws you and how much patience it takes. It's also the cheapest way not to buy tools you'll use twice.
- If you like gesture and controlled strength: forging workshop.
- If you like detail and patience: filigree workshop.
Techniques to learn first
Four skills underpin almost everything in jewellery. Practise them from the start:
- Sawing with a saw frame, following a line. It looks simple but takes practice.
- Filing and sanding to refine shapes and clean surfaces.
- Soldering — controlling heat and getting solder to flow where it should.
- Annealing and forging — understanding how metal hardens and softens.
With these four you can make simple rings, earrings and pendants. Read more in forging, repoussé and filigree.
First projects
- A plain ring in copper or brass wire: measure, cut, bend, solder, round, polish.
- A hammered ring: the same, with hammer texture.
- Cut-out earrings from sheet: draw, saw, file, drill, assemble.
- A domed pendant using a dapping block.
- Your first silver piece, once the others go well.
Practice materials
Start in copper and brass. They're cheap and behave much like silver. Mistakes in copper cost little; in silver, more. Move to silver once your gestures are confident.
Starter tools
We made a detailed list in the jeweller's bench. To start: bench pin, saw frame and blades, needle files, pliers, hammer, steel block, small torch, soldering block, solder, flux and sandpaper.
Safety
- Work in a ventilated space, away from flammables.
- Wear safety glasses when sawing, polishing and soldering.
- Tie hair back and avoid loose sleeves near the torch or motor.
- Handle pickle with care.
Most common mistakes
- Starting with the hard piece. The dream piece comes after many simple ones.
- Poorly fitted joints. Solder doesn't fill gaps: the joint must be perfect before soldering.
- Too much or too little heat. Heat the whole piece, not just the solder.
- Skipping finishing. A well-sanded piece looks completely different.
- Learning only from videos. They help, but nobody corrects your gesture.
Workshop, course or school?
- Workshop (3 hours): to try it and make a first piece.
- Foundation course (several sessions): to build solid basics and independence.
- School or vocational training (months or years): for those making jewellery a profession.
Our Goldsmithing Foundation Course sits in the middle: 8 private lessons at your own pace, with bench basics and three traditional techniques, up to designing and making a piece of your own.